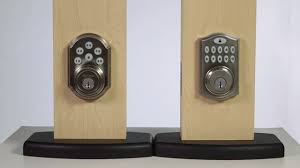
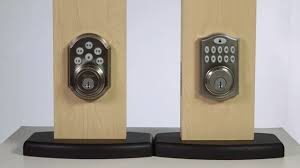
You can check out notifications, usage history and protect your home against any break-ins with the kwikset smartkey. What do you do when your kwikset smartkey reset is not working? Read more below
Living in the urban regions has its advantages and disadvantages. There are so many opportunities, people to socialise with and the standard of living is manageable but what throws me off the most is the number or home burglaries that often occur around my neighbourhood. For a sense of security, I decided to install the kwikset smartkey on my door. It is one of the best decisions since I have had zero break-ins since installations as opposed to the countless I had before. Lately, I have been having issues with the lock and my attempt to reset the code seemed fruitless. After hours of searching for a suitable solution, I stumbled upon the answer.
How to fix your kwikset when a simple reset is not working
Step 1; disassembling
Disassembling the lock is the first step you should take. It is easy and not time consuming. Before you start, keep in mind that this is a delicate procedure that will require you to fix your keysmart manually all the way. After you have removed the lock from its shaft, remove the retaining u-clip form the case and body. Before you start anything, you should have a safe place where you can store the parts to avoid losing them.
Step 2; cylinder removal
This step is tricky but not hard to follow through once you understand. Removing the cylinder will require you to completely slide it out of the case. To do this, you will need to press down on it evenly with 5 fingers. Do this along the length of the cylinder. You can use a hard object to so for this step if you find your fingers too slippery or exhausting.
Look out for the check ball; ensure one side is secure and the other has the finger lock before you completely take it out. Safely store the finger lock bar and check ball security once you have removed them. Ensure the fingers are inside and arranged correctly when removing the finger locking plate. You do not want to taper with the spring that is behind the finger locking plate.
Step 3; arranging the fingers
When you reach this part of the kwikset, you should be able to locate the channel groove in both the finger locking plate and finger. Arrange the fingers in the locking plate to make them even so that the grooves in their match the ones in the finger. When this is completed, replace your locking plate with the aligned fingers using the u channel. While holding the fingers against the spring you left on the tumbler body, place them uniformly.
Replace the finger locking bar and place it onto the locking plate while you are still holding the assembly of the spring and tumbler body. To know that you have done this perfectly, confirm that the finger locking bar is flush with the side of the plate and is raised as usual. Keep holding everything firmly so they can stay in place. While you are still holding the tumbler and locking the plate tightly against the spring, insert your key into the tumbler body.
Step 4; add the check ball
At this point, you can straight up add the check ball while you are holding the other parts. Repress the plastic block that is located at the back side of the finger locking plate and slide the assembly into the case and rotate it clockwise at 90 degrees. To make the perfect estimate, check the u channel located inside the tumbler case; you want to make sure everything is perfect and supposed to be where it should.
Step 5, double check
If the finger locking bar was not flush when you inserted the tumbler, there might be a big problem of inconsistency in the end. This certainly does not mean that you have to start the whole process over again, but you can redo the finger section while you are still holding tightly the rest of the assembly. While you are at it, you should try to confirm that the finger is not poking out of the tumbler body. When you think the alignment is perfect, remove the new key and re-insert it to check whether it is rotating smoothly. Finally, secure the assembly using a retaining clip.
Conclusion
This is the easiest way to reset and re-key your kwikset smartkey lock without having to spend any more money on an electrician. I am impressed that I can fix the lock within minutes and it still provides me with the security it did before the malfunction.